Saturday, March 29, 2014

I hope you found yourself a little less exposed!

Today was a very busy day for my boyfriend, Bruce, and I,  We went several places.  I didn't think anything about wearing an old pair of pants.  I put on a little make-up, made sure my hair looked nice, and wore a pretty shirt with sparkles. We went to Village Inn, Home Depot, Wallie World, Best Buy, a second Best Buy, Barnes and Noble, and Casey's General Store.  About 9:30 I decided to get ready for bed and as I took off my pants, I discovered I could see daylight from the butt of my pants.  How many people did I moon today???  Bruce did not even notice and I am sure he popped me on the butt a time or two.  Oh how embarrassing.  All I can do is laugh hysterically.  I sure hope I am not on the next list of Wal-Martians you get in your emails!  LOL


 I wanted to show you where my chickens sleep.  There are many perches available, but 4 prefer the rafters.  The others bunch up together on on end of a perch.  I think chicken behavior is interesting.  We have many nest boxes, but two or three of them prefer to use the same one.


I hope you had a great day and you found yourself a little less exposed than I was today.  Dawnie

Thursday, March 27, 2014

Tom Cat

One of my neighbors has a l a r g e  Tom Cat.  He hangs around our back yard most sunny afternoons.  When I go outside, he runs to the other side of the fence and peers out and around the corner, until I go back inside.  He has his eyes on Mr. Rabbit who lives in a tunnel under the chicken coop.  I am not sure if the rabbit is for dinner or for a play toy.

This evening I went to the door and he was waiting on Mr. Rabbit to come out and play.  LOL

Here is the cat in auction:


I have decided to incubate some eggs.  My last try did not end well.  I purchased a new incubator which is much larger.  I'll keep you posted.  21 days from tomorrow and I should have baby chicks!


The girls come to greet me when they are outside and they hear me at the back door, or see me in the window.  Is it just me they like, or is it the treats???    I know it is the treats but I hope they like me too.  Have a great night!  Dawnie

Saturday, March 22, 2014

TEA COZY---PART 2


The pictures above are vintage patterns.  The most popular pattern is the two toned cozy where the knitting pattern pulls the yarn tightly behind as it is knitted, giving the cozy extra thickness which would allow for great warmth.  The best yarns or fabrics to make a tea cozy are cotton and wool.  Cotton and wool help the teapot maintain the warmth and keep the teapot warm longer than a bare teapot exposed to the elements.  Cotton is usually easier to wash and less expensive than wool, so it is a favorite to make cozies out of.  Acrylic yarn is also much easier to wash and it is less expensive than wool, so it is also a favorite among knitters.

Is it a Tea Cozy or Tea Cozie?  Both are fine, but the Cozy is most popular and used more in the countries where tea cozies are used most often.

In order for a tea cozy to fit correctly and do the job, it needs to be tall enough to touch the table all of the way around and fit over the pot.  If it has openings for the spout and handle, measure the teapot from the table to the beginning of the spout and from the table to the beginning of the handle.  Then measure the end of the spout and handle.  Are the openings large enough to accommodate the handle and the spout you wish to use the cozy on?   Some handles are taller than the spouts and vice versa.  Due to this knowledge, some cozies have openings from the bottom to the top or may have one side opening larger than the other side.  If the tea cozy fits correctly,  it must be tall enough to touch the table and not allow cold air to go under it.


Thank you for viewing Part 2.  Please stay tuned for Part 3.  Dawnie


Sunday, March 16, 2014

TEA COZIES---PART 1


Tea cozies are used for covering teapots, which allows for hot tea longer than with a bare teapot.  Cozies also dress up your table and give it a bit of nostalgia.  Some are made with side openings for the spout and handle to fit through and some fit over the entire teapot.    Many tea cozies made by other people are made without lining, but I feel they need that finishing touch and extra warmth of a lining.   I also feel a cozy is not complete without a topper.  I usually make a loop on the top of the tea cozy and hang a removable decoration on this loop.  I suggest a drip catcher should be used on the spout so the cozy does not stain from tea.

The legend of the first tea cozy began when a farmer reached across the table; his hat fell off and landed over the teapot on the table.  The teapot was kept warm and cozy due to the hat, so the farmer's wife knitted a cover for the teapot and called it a cozy.
There are several types of tea cozies.  One type will fit over a teapot like a dome.  Another type goes under a teapot and ties around the pot allowing the spout and the handle to be out of the cozy.  With this type,  the lid is exposed or partially exposed.  The third type of tea cozy is one that fits over the pot allowing the handle and the spout to be exposed.  This is the most common type.  Most tea cozies I make are made by knitting, crocheting, or a combination of the two.  I do, however, like to line cozies with cotton fabric and use cotton batting between the fabric and fiber.   I have seen antique cozies with wool or cotton stuffed between layers for that extra warmth. 

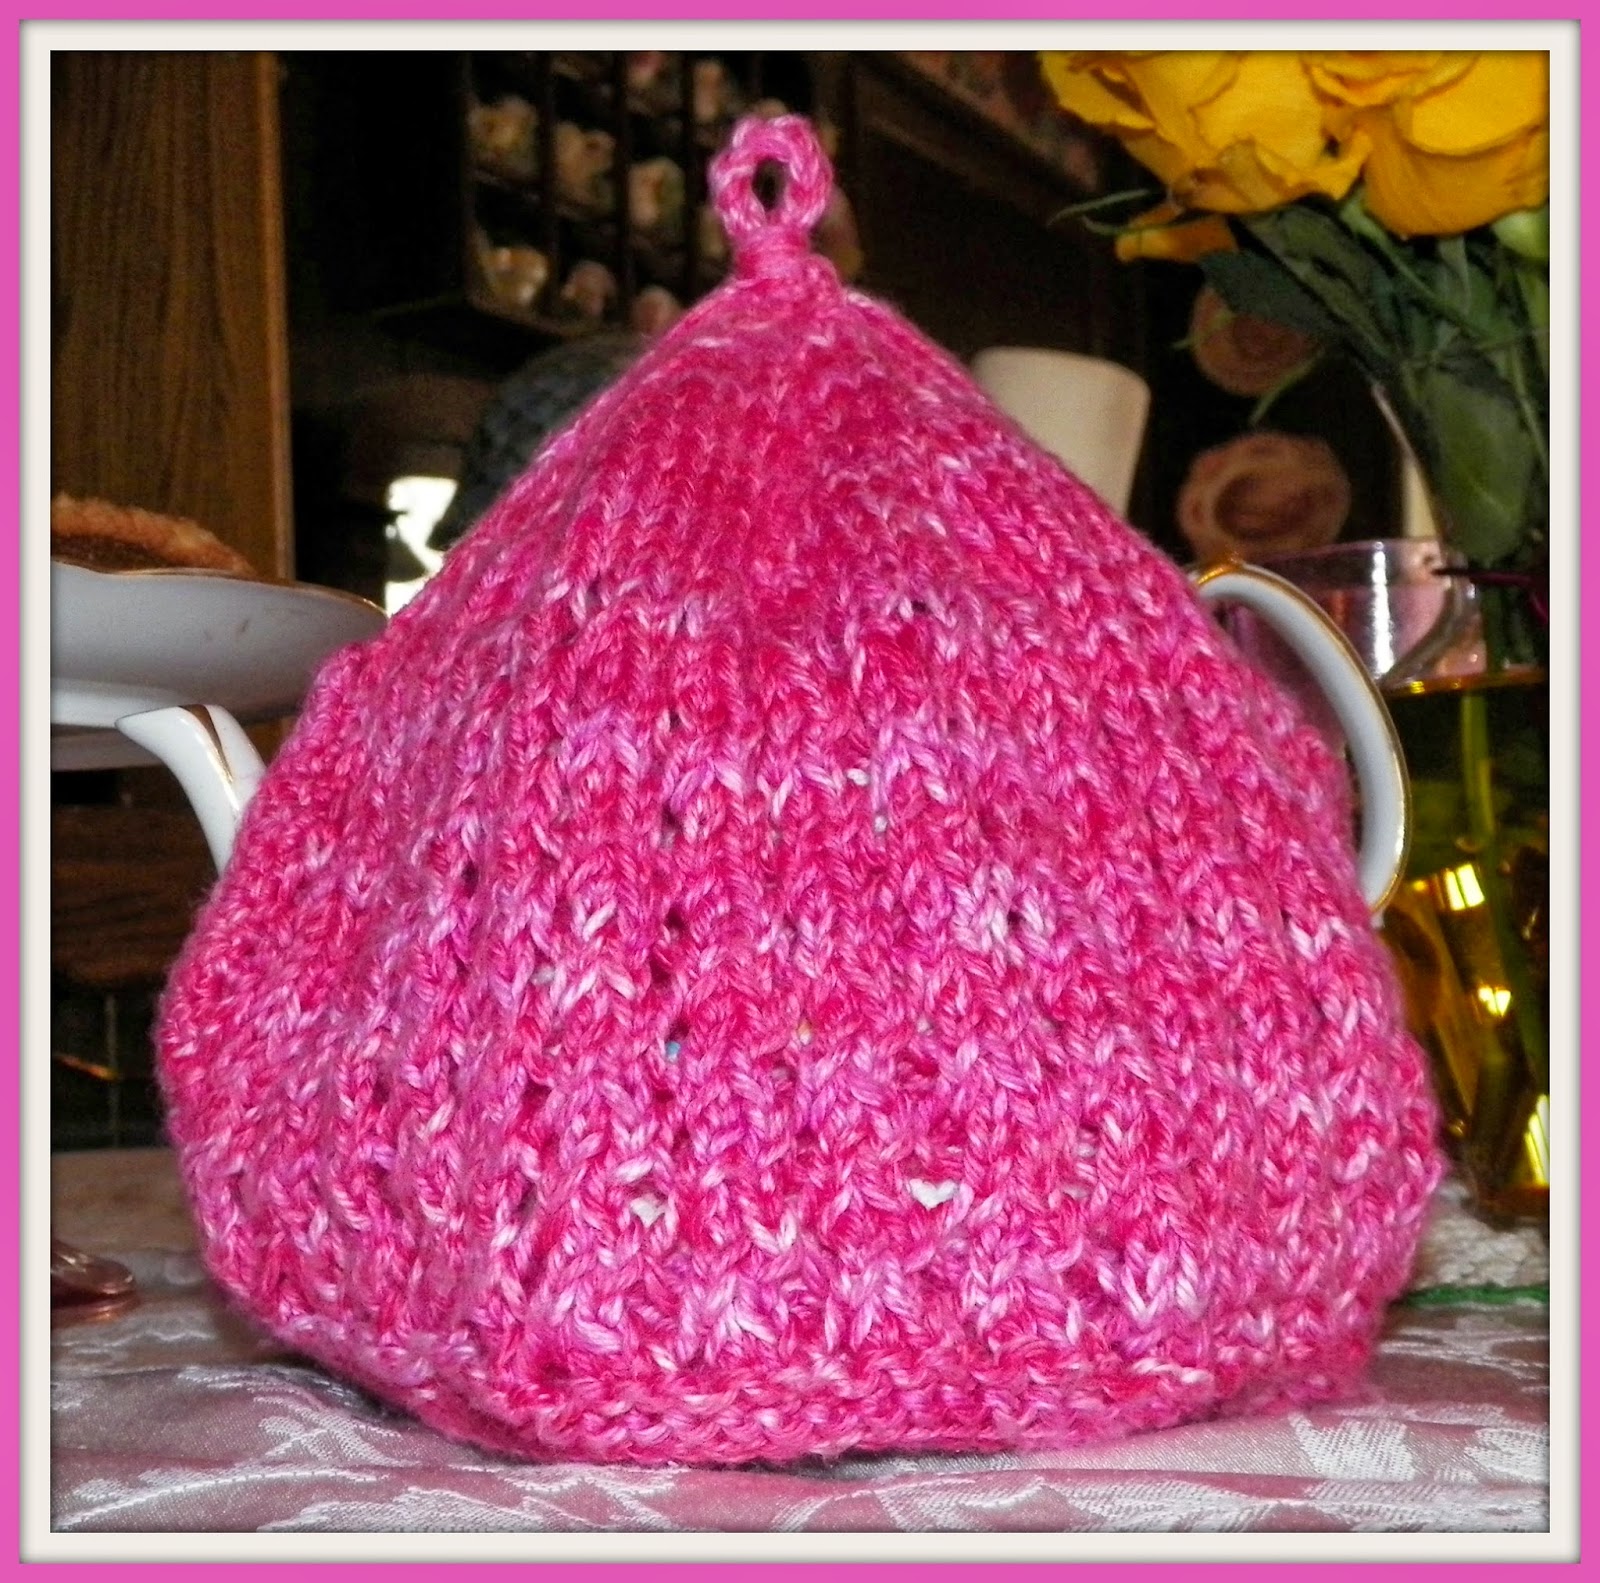
One side of my new tea cozy.

The reverse side of my new tea cozy.

Saturday, March 15, 2014

Tea Cozy

I have made tea cozies for many years.  They are popular to make, when you live in Ireland, England, Scotland, and Australia.  In America, they are not as popular and most people have no idea what they are.  I have developed what I think are the best working styles for doing what tea cozies are to do, which is to keep a teapot full of tea, warmer than when it is exposed to the elements.  I am doing a pictorial on making tea cozies, the types, the fit, etc.  In the mean time.  I am going to show you my latest one.  I hope you had a wonderful week and you got plenty of rest.  Thank you for viewing!  Dawnie


Don't forget you can visit my web store at:http://www.custercottage.com
and my Etsy shop at:https://www.etsy.com/shop/CusterCottage.

Saturday, March 8, 2014

New Ball Jars

Ball jars have new green jars.  They are in pint and quart size.  Along with that, they have new green and blue metallic bands and lids.  I have regular green jars showing in the picture with one sporting a new green lid.  On the right side is one of the new blue jars with canned food inside the jar and a new blue band is on the jar.  Once you place food in the jars, the color changes a bit and the blue or green colors are not as obvious. 


Tuesday, March 4, 2014

Lots and Lots of Wool

I have lots and lots of wool ready to spin and lots of wool ready to prepare for spinning.  Some are pieces left over from completed projects and some are complete fleeces from a sheep.  The ready wool pile comes from various sheep breeds, angora from angora rabbits, mohair from angora sheep, flax which becomes linen,  sparkle from nylon and Mylar, silk nips, corn protein fiber, and various other odds and ends.   I decided to spin little bits from all of it and make one skein of yarn. As I spun the yarn, I allowed some of the kid mohair curls to show and any lumps or bumps in the wool to show.  I thought this would give the piece more interest.  Once this was made, I crocheted the yarn into a large circular hot pad/trivet.  In the center area I added another layer of blue yarn and then a second layer of green mohair around that. The final step was to wash and shrink the hot pad/trivet, making it felt, but keeping the fuzzes.  It is 9 inch in diameter and one of a kind .  It reminds me of a rug from grandmother's house.  I plan to make more of these.  They say happy!  Have a happy week!  Dawnie


The completed project.


.

Sunday, March 2, 2014

Sunday Undies


Sunday Undies

For years I have made hot pads/pot holders/trivets which I called Sunday Undies.  They are fancy enough for Sundays, but nice enough to use all week long.  They are not intended to use for scalding pots, but for placing under tea pots and serving dishes.  They will add beauty to any table.  I made a Sunday Undie that is in the shape of pantaloons.  

Saturday, March 1, 2014

Laundry Soap Picture Tutorial

To save money, I tried to make liquid laundry soap using grated soap, borax, and washing soda.  It separated.  I researched the web for recipes and also to see what the problem may have been with my batch.  I found out that the soap I used was super-fatted and I should have used lard or tallow plain hand made soap if I was not using purchased bar soap.  I made another batch and it separated too.  I understand that separated or not, the soap is fine to use.
First batch of soap.


This is the second batch of laundry soap.  I used my hand made soap which was made with only tallow, water, lye, and lavender essential oil.  I added less water to this laundry soap batch and  it also separated.  I then made a fourth batch with my hand made soap, but I used less water.  In the following picture, the jars are from the third batch except for one jar on the top right side and it is from the second batch.


The fourth batch recipe I used:
Melt together under med-low heat  one bar of grated Fels Naptha soap (5.5 ounces) and 4 cups of water.  Once the soap is all melted and no chunks show.  Take the mixture off the heat and add 1/2 cup of washing soda and 1/4 cup of borax.  Mix well  Add 2 tablespoons of fragrance oil and 8 cups of hot water.  You will probably want to put the mixture in a tub or bucket with a lid.  Once this solution cools a couple of hours or over night, it should set up.  At this time, use a stick blender and mix the solution well.  I used the stick blender one more time a couple of hours later and then placed the solution into jars.  It is ready to use at this time, but it can also be thinned down with water.   


During the fourth batch, I realized that I did not boil the soap as it melted.  This made me think that I may need to try my experiments again and put less heat on the soap.  I used my hand made soap with shea butter and coconut oil in the fifth batch.  I found the boiling did not matter and I need to use plain soaps such as in the second and third batch.

The formula I used for the sixth batch:
2 bars of shredded ZOTE soap (14.1 ounce per bar) and 12 cups of water melted under med-low heat, make sure all of the soap melts, but it is not necessary to boil it.  Turn off the heat and add:

3 cups Borox and 3 cups Washing Soda,
mix well, add 12 more cups of warm water and 3 tablespoons of fragrance oil (I used fresh cut roses from Natures Garden.  Zote smells like citronella and it stinks!  I hope the fragrance oil will cover the citronella stink.
Cover the mixture and let it cool.  Once the mixture starts to set up (about 2 hours later), use a stick blender and blend it smooth,  ( Most of the mixture will separate and a layer of pink foam will be on the top.)  I left mine about 2 hours to cool down.  About two hours later, I used the stick blender again to liquidify the mixture and allow it to pour into containers more easily.  I added 6 cups of water into a gallon container and filled the container up the rest of the way with soap mixture.   I shook up the mixture in the gallon containers and it was then time to use it.  This type of laundry soap does not make a lot of suds.  Use one half of a cup of soap per load of laundry. If you have questions with this picture tutorial, please give me an email or comment below.  Picture tutorial:  


ZOTE shredded.  It is so pretty!
This is what I used for shredding soap.
Soap Melting

After the Borax is added and mixed in.

After the washing soda is mixed in.

The finished product.  As you see, there was a tiny amount of separating in the container on the left.

One of my favorite little areas in my home is my toy sewing machine shelf.  Between the sewing machines is a pin cushion in an antique cup. 


Thank you for viewing my blog.  I hope you have a wonderful week!
Dawnie